Posted in DIY, Uncategorized

Shiny New Boots

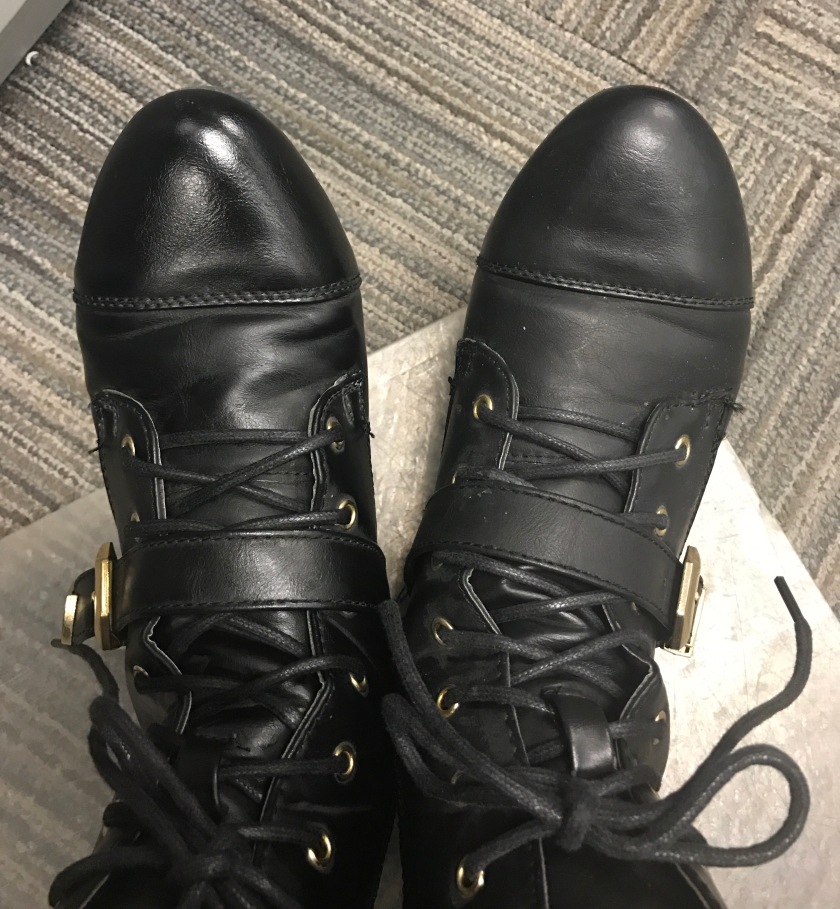
I bought a new bedroom set over the weekend and anytime you buy a new bedroom set you have to clean up under the bed. Well I found these black boots under the bed and they definitely needed some tender loving care.


I remember a lady telling me to put lotion on the boots to give them a little bit of shine. First I wiped them down with a wet cloth and then I put lotion all over them and they looked 100 times better.

Posted in HAIR

Heat Damage Again!!!

About 8 months ago I decided to chop my hair off because it was heat damaged and I just couldn’t look at it anymore. Over the weekend I decided to get my hair straightened and styled by a close friend of the family, and once I got home I felt the ends of my hair and it felt crispy and it smelt burnt. I was really worried about my hair and I almost shaved it off again. Honestly I don’t want to big chop again. Monday morning I decided to make a concoction that was going to bring back some life into my hair. I don’t know how I came up with this concoction, it just felt right to try it out. I gathered the glycerin, the herbal essence hello hydration, and my alikay naturals oils.

As you can see there a lot of straight pieces throughout my whole head. My texture has completely changed.

Step 1: Mix the glycerin and oil together. I mixed maybe a tablespoon of each.

Step 2: Shake up the bottle and pour it all over your head, especially the damaged areas.

Step 3: Add the Herbal Essence to your hair and massage it into your hair from the root to the ends of the hair. Let it sit on your hair a couple of minutes.

Step 4: Rinse your hair and deep condition your hair.

Now I’m not saying this concoction is the holy grail, but it has helped me and I feel somewhat better now. And I also can’t say that this will work for your hair, but it’s always worth a try. You won’t know until you try.

Herbal Essence Hello Hydration         Glycerine         Alikay Naturals

Please check out my Pinterest


Posted in DIY

My Favorite Pins for the week of 2/3/17

 Pinterest is one of my favorite websites. I’m on this website at least 18 hours a day. I wish I could try every pin that I saved, but I’d probably be broke.

Pin #1 Confetti Valentine Mason Jars


I need this mason jar in my life for Valentine’s Day. I will be putting my favorite chocolate in it. Snickers!

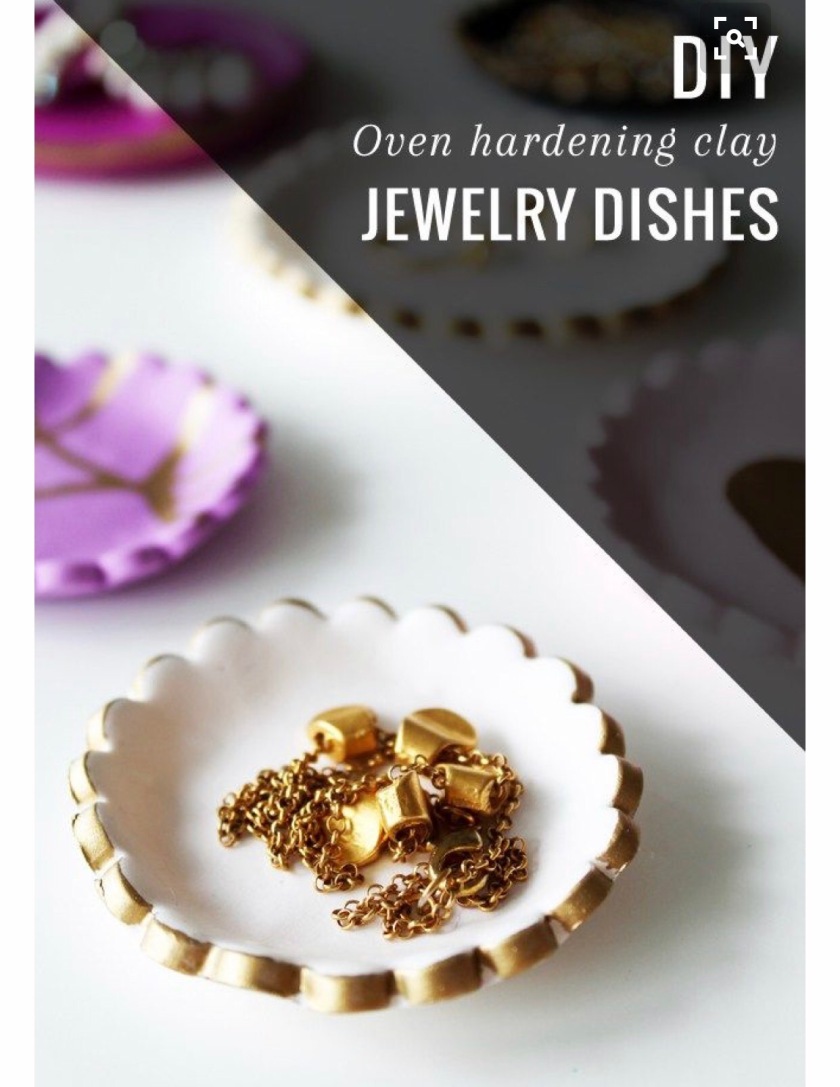
Pin #2 Easy DIY Clay Dish


I think I want to use the air drying clay with this DIY.

Pin #3 DIY Lapel Pins


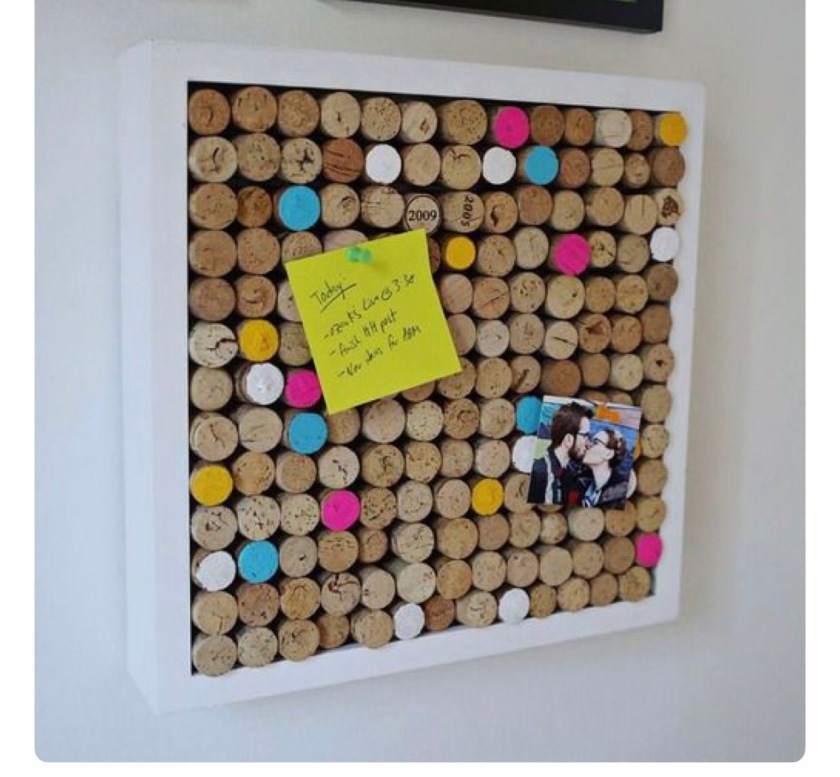
Pin #4 Cork Memo Board


I will definitely be making this really soon.

Pin #5 DIY Confetti Tray

I think I can incorporate this tray into my pictures for my blog.


 I hope everyone enjoyed my list of favorite pins. I would love to know what your favorite pins were for the week. I know I’m not the only one obsessed with pinning.

Posted in DIY

Tumeric Face Mask

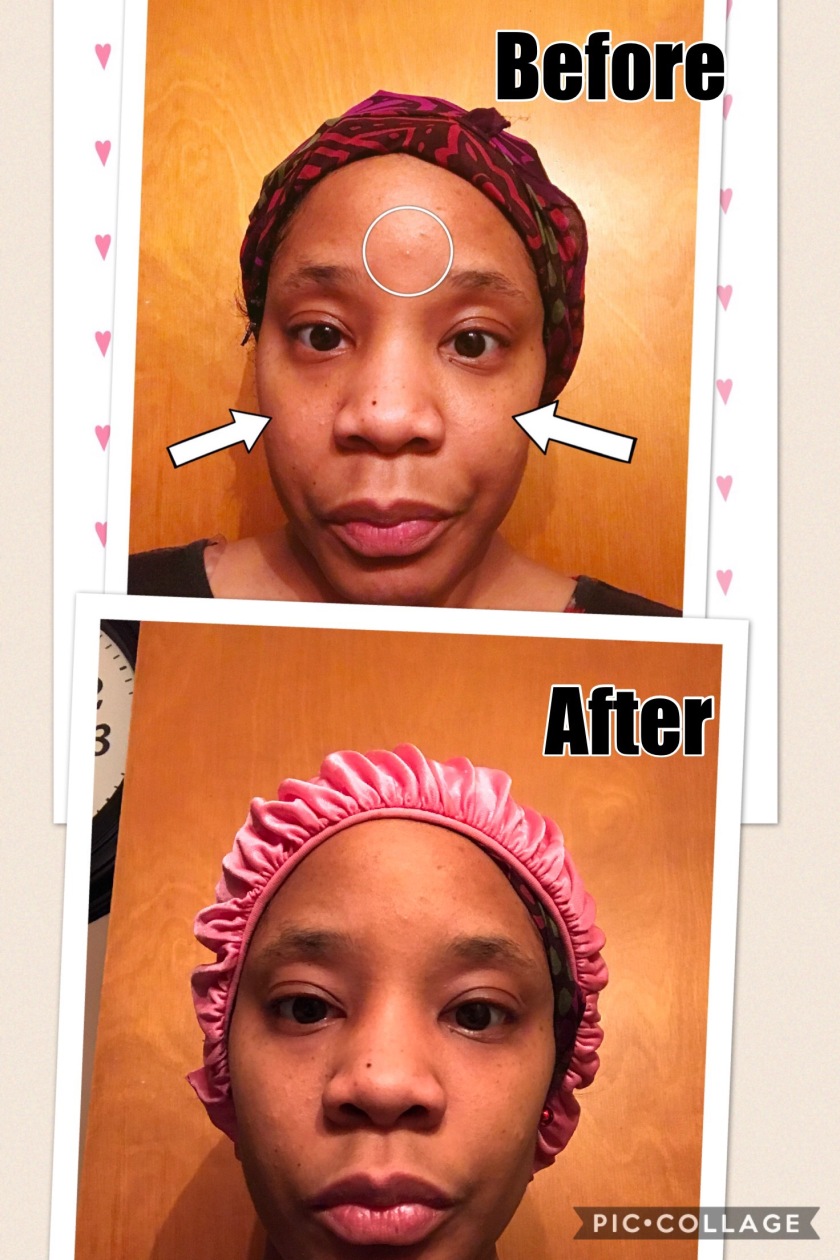
First of all before I start this post; I just want to say that I love myself. I pointed out a couple of problem areas on my face, so I could see how well the mask worked on those areas.
Now on to what this post is really about. Did I like this mask? Or will I continue my search.

Supplies:

  • Ground cayenne
  • Ground cinnamon
  • A bowl ( preferably one that you don’t mind messing up)
  • Honey
  • Paint brush
  • Gloves(optional)


Tumeric is a anti-inflammatory and it helps to rejuvenate the skin. Cinnamon has anti-inflammatory and anti-bacterial properties. Lemon is an exfoliant and it works as a astringent. Honey is a moisturizer and it gives your skin a glow.

Step one: Mix all the ingredients until the mask has a thick consistency.

Step two: Apply the mask with a paintbrush. Leave the mask on for 30 minutes. I washed a load a clothes while I waited.

Step three: If you don’t want yellow hands please wear gloves. Rinse your face with warm water.
Step four: Pat your face dry and add a light moisturizer. I use the Lush Celestial Light Moisturizer.
I did feel a slight warming sensation on my face after applying the mask. It wasn’t unpleasant, but it felt like it was doing its job. After I washed the mask off I noticed a glow and I noticed that my face was very soft. I also noticed that the palm of my hands were a slight yellowish color, but it didn’t bother me as much because I knew that turmeric can be staining. I didn’t see a huge difference, but I did take into consideration that I’ve only tried it once.


The verdict: I will continue to use this mask for the next two weeks and use it twice a week. Next time I will be adding lemon juice to the mix and reducing the amount of cinnamon I put in the mix.

Posted in DIY

Random DIY

Some days I love to take long walks down each aisle at our local craft stores. When you have a five year old, alone time is almost impossible because Poo is attached to my hip.

Supplies:

  • Matte Mod Podge
  • Folkart Home Décor Layering block
  • Ultra fine glitter
  • Wooden box
  • Clear flower stamps
  • Toothpicks
  • Black ink pad
  • Paint brush
  • Sealant
  • White mask (optional)

Step 1: I painted the box with the Grotto (green) chalk paint.

Step 2: Let it dry overnight. (it was late and I was tired)

Step 3: Woke up the next morning and used the Folkart Home Décor Layering block to apply the Vintage Victorian (pink) chalk paint to create an aged look.

Step 4: I let the pink paint dry for a couple of hours and then I stamped the box using my clear flower stamps and the StazOn black ink pad.

Step 5: I used a toothpick to dip into the Matte Mod Podge so that I could apply the glue to the outline of the stamped flowers. Next I poured the glitter over the stamped flowers and put the access glitter into the mask, so that I could use it again for the next flower.

Step 6: I used a sealer to complete the project.

You could do this DIY in a couple of hours or you can split it up like I did.


Here’s the link to the supplies listed above:

Folkart Home Decor Layering Block

Folkart Home Decor Grotto Chalk Paint

StazOn Black Ink Pad

Mod Podge Matte

Ultra Fine Glitter

Be sure to check out my Pinterest


Posted in DIY

Searching for the perfect DIY

I think my DIY journey began about 5 years ago when I became pregnant with Poo. I wanted to be able to create something I could sell on Etsy,so that I could support us. Let’s face it being a single mother is 10x harder when you don’t have a constant flow of money coming in.

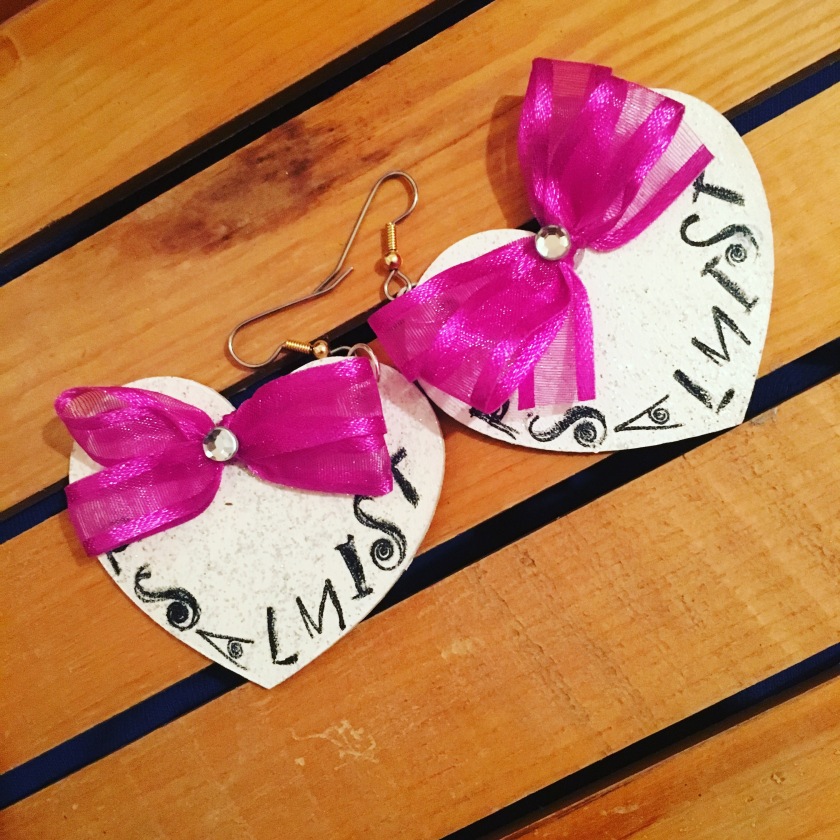
I’ve made hair bows to extravagant earrings over the years thinking that I’ll be like every other person on Etsy and get lots of money. Wrong! I think my biggest issue was that I gave up too easily and I wasn’t patience enough to stick with one craft. Secondly I wanted to do what everyone else was doing and not paving my own way. Thirdly I didn’t believe in myself. Eveytime I failed at something, it took a toll on me.

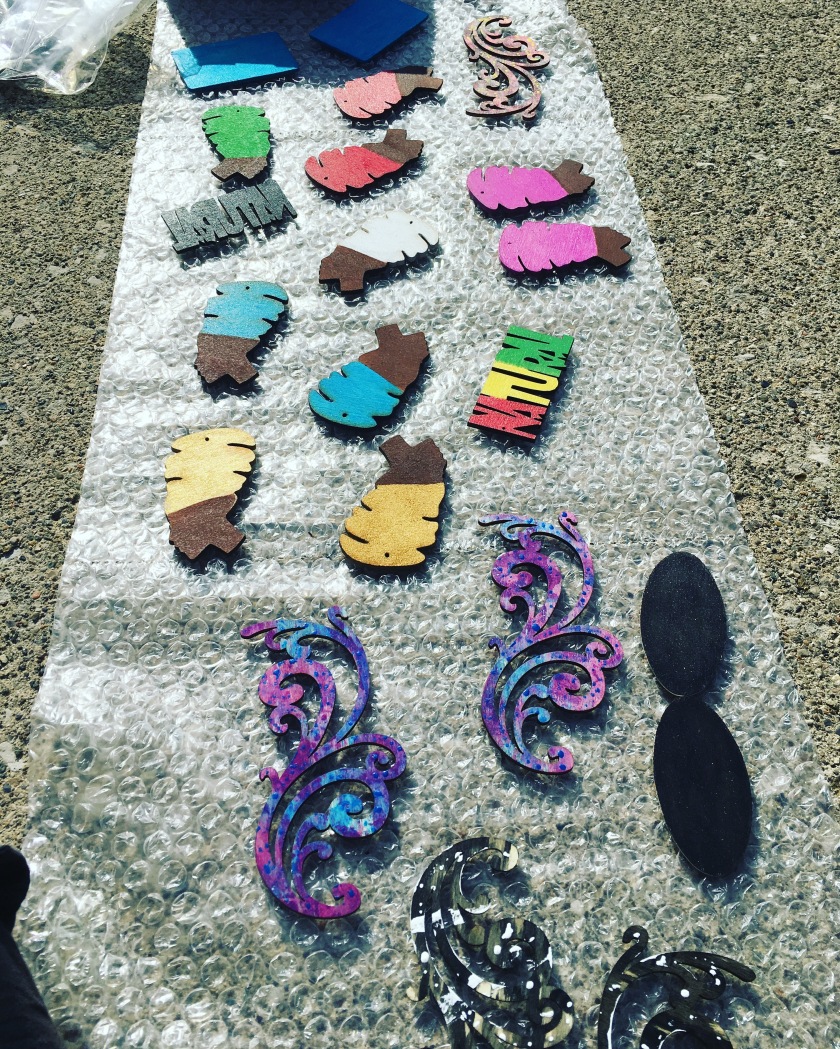
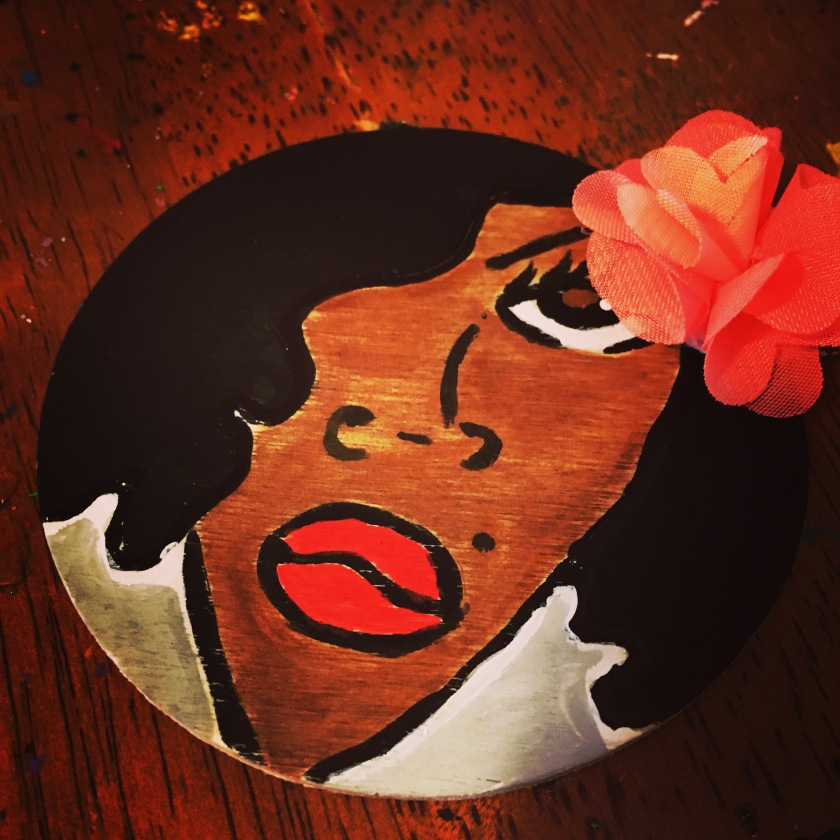
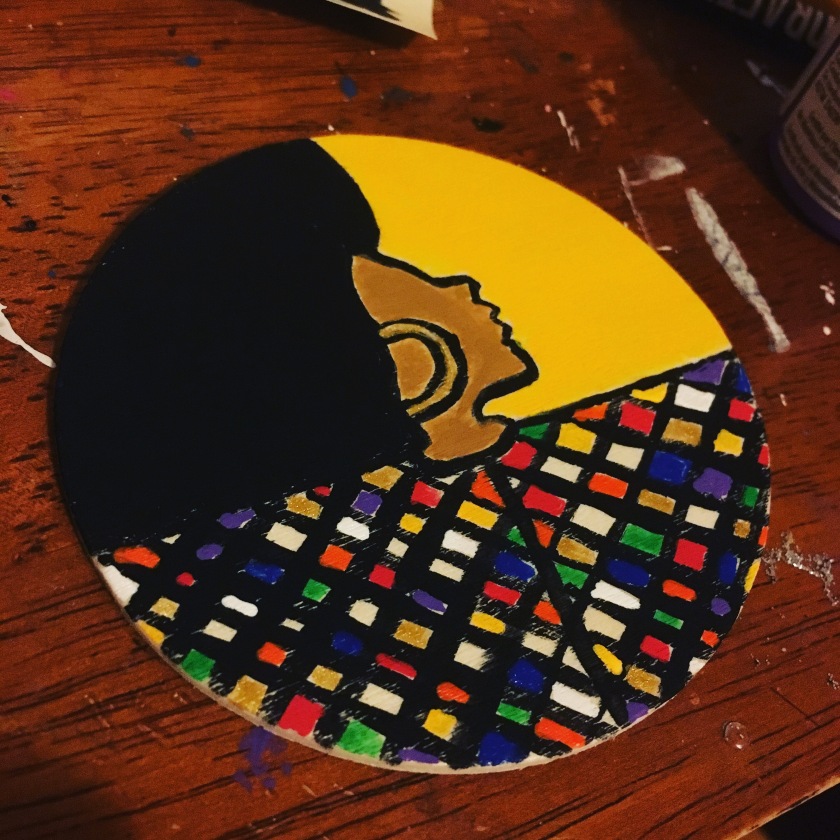
But I look back over the years and I really made some wonderful items and I would like to share some with you.“Some quit due to slow progress. Never grasping the fact that slow is still progress.”

Posted in Black History Month

In Honor of Black History Month

In honor of Black History Month, I wanted to do some DIY’s with my 5 year old son (Poo). Poo and I want to honor George Washington Carver by growing a sweet potato plant. George Washington Carver was an expert in agriculture and he’s known for making a host of products all from peanuts and sweet potatoes. He also didn’t believe in patenting his work because he believed that everything came from God.

I found a very useful website on, “How to grow sweet potato plants”. You can check out the link here http://www.dreamgarden101.com/how-to-grow-sweet-potato-plants/.Poo and I already have a sweet potato ready to put into our Coca Cola glass cup. I already know that he will be watching the sweet potato like a hawk and asking mommy everyday when we’ll see some action. Hopefully he won’t drive me crazy in the meantime. I will post pictures later.

“I love to think of nature as an unlimited broadcasting station, through which God speaks to us every hour, if we will only tune in.” ~George Washington Carver

We salute you!!